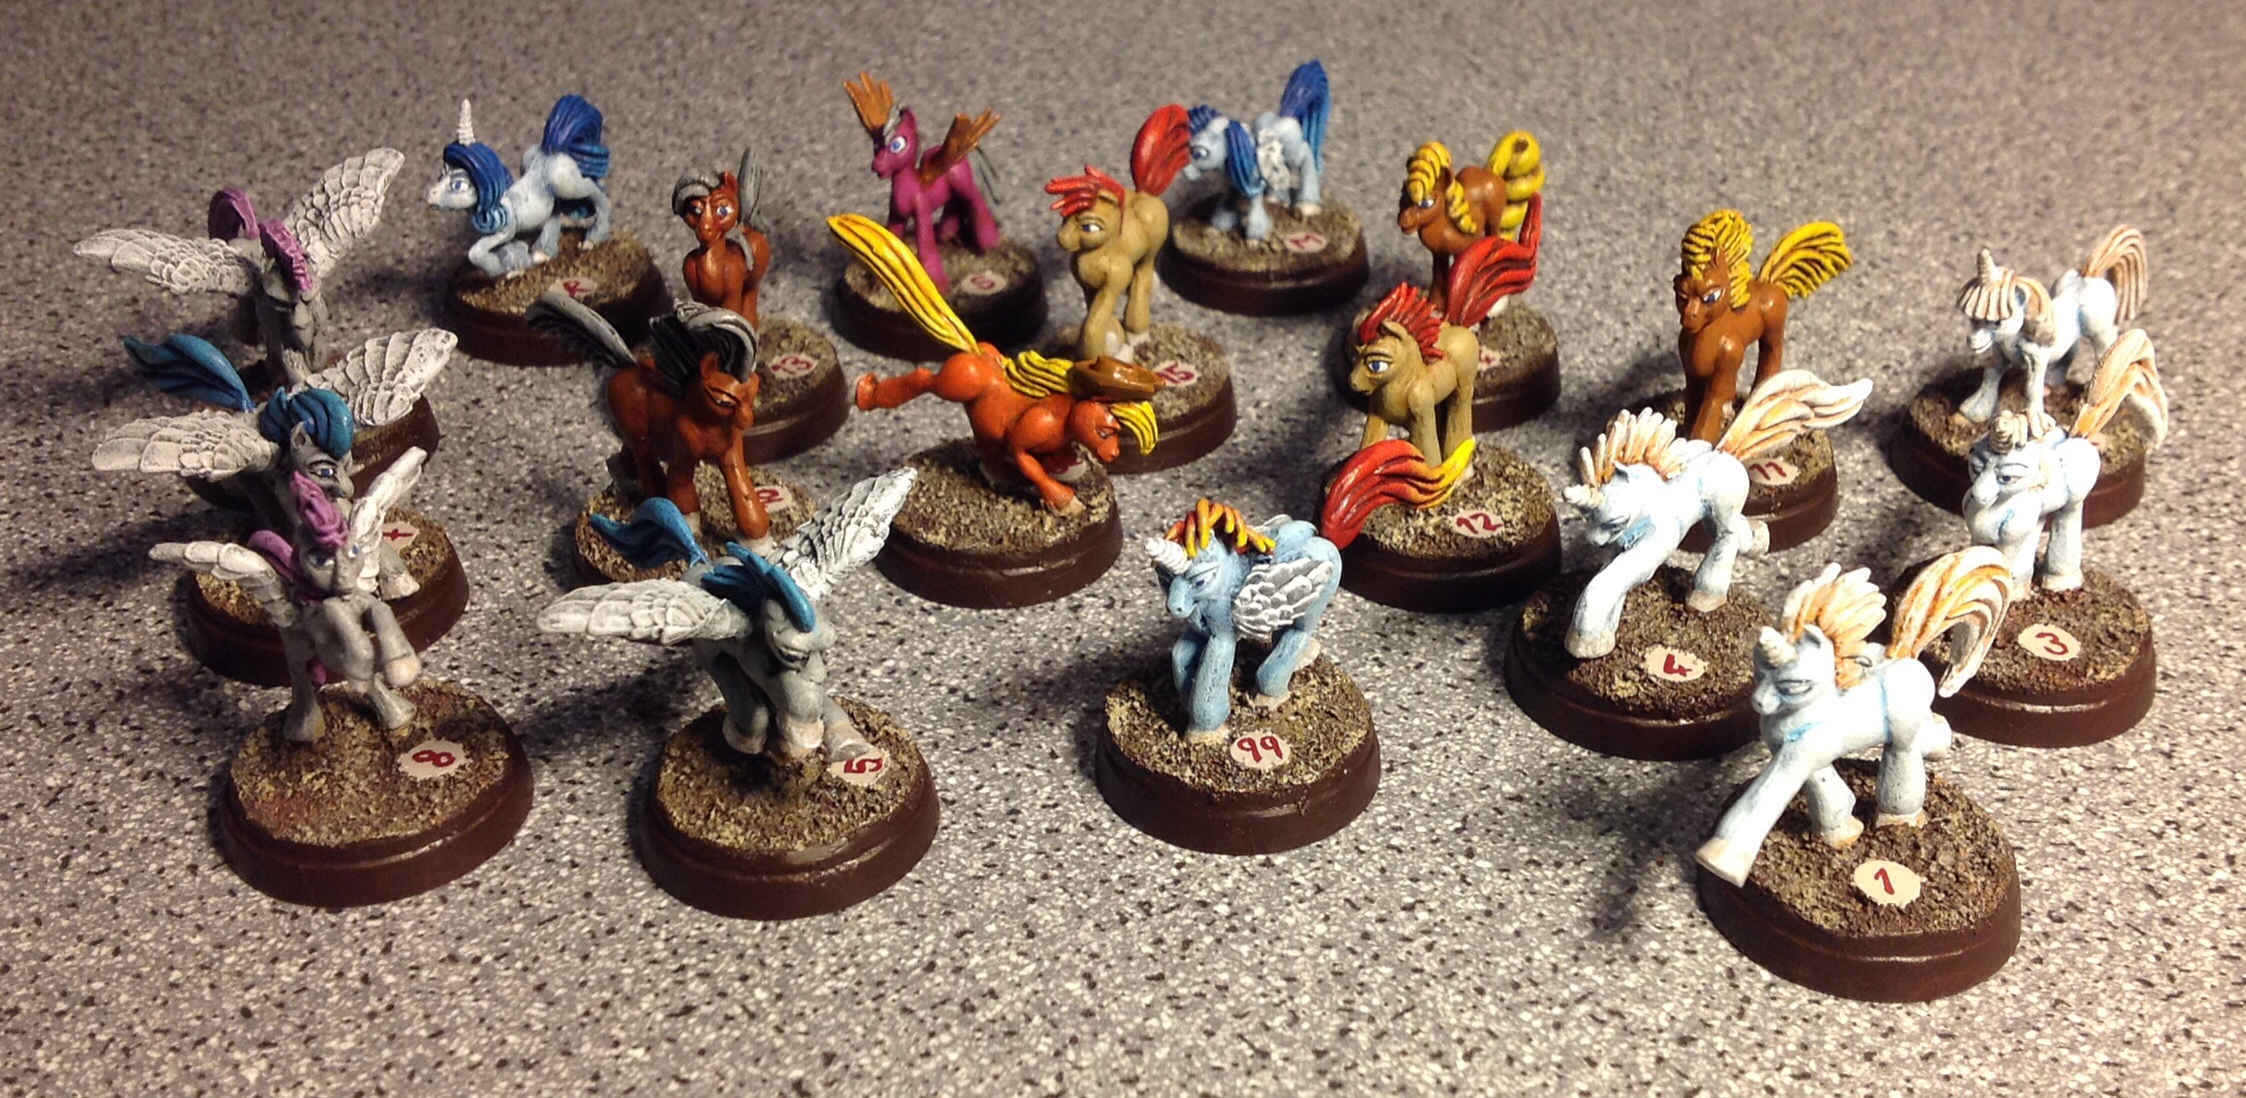
So this tutorial/guide is designed to show you just how easy it is to make great looking terrain.
The reason I’m starting with ‘The Hill’ is that most of the techniques used for making terrain are done on this simple terrain piece. Also hill type terrain is used in every miniature wargame that I can think of (bar space combat of course;) be it basic stepped hills for Warhammer fantasy/Warmachine/Bolt Action, line of sight blocking rocky faces for Wahammer 40K, or mounds of detritus and rubbish for Necromunda, etc.
Materials:
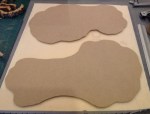
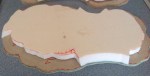
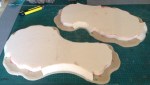
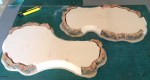
6mm MDF sheet for basing – This can be bought in any DIY outlet but I use B&Q because there cutting services mean I can buy an eight foot sheet and have it cut down into small pieces that I can fit in my car. MDF is a fantastic grainless sheet meaning it can be carved and sanded into whatever shape desired. You can also use 3mm MDF to make lightweight basing but it is harder to get hold of.
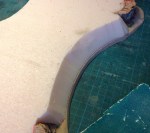
25mm pink styrofoam (extruded polystyrene) for structure – Do not mistake this for expanded polystyrene (the white bubbly packaging) because it is far superior being much tougher, easy to carve with a craft knife and smooth-able with sand paper. The slight downside is that it’s a tart to get hold of B&Q sell 50mm pink, some art shops sell blue for exorbitant prices but the best place (around Edinburgh) is an insulation specialist called CCF.
Filler for filling gaps – I use polyfilla because its easy to get hold of, any powder based sand-able filler will do.
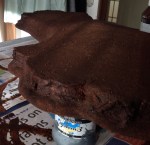
Sand & Gravel for texture – I buy kiln dried sandpit sand (£4 a 25kg bag!) from B&Q and the mix it with various grades of gravel, the main source being decorative gravels by Ikea because there cheap! I would advise against using miniature basing sand/gravel not because it’s any different but because it’ll cost you an arm & a leg for enough to do a terrain set.
Glue for sticking – I use builders PVA for most glueing needs, however when i need a fast (see impatient) bond I use hot glue, and when materials are particularly porous I use general purpose clear strong adhesive.
Paint x3 for colouring – I always do base coat plus two brushes as less than this tends to look flat, and more than this is too much effort and tends not to be noticeable. Artists acrylics like System3 or Galeria are both cost effective and provide a variety of useable colours, however few artists like to paint in ‘shades of mud’ like terrain builders so batch paint mixing is the way forward.
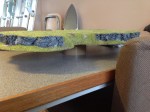
Flock/Static Grass optional depending on desired result – I always use a 50/50 mix of flock to static grass as the flock provides coverage but the static grass, well looks more grassy!
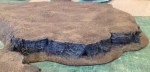
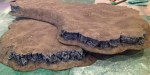
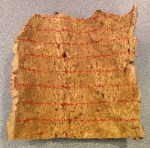
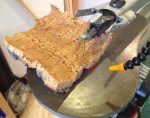
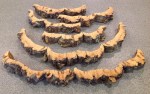
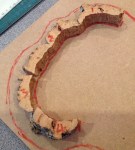
Cork Bark optional depending on whether you like craggy rock faces – I get my virgin cork bark from antenocitisworkshop.com, but it’s possible to get it from pet shops as it’s used as backgrounds for vivariums. I’ve also started fluffying up my rock faces with small bushes made from ‘Woodland Scenics: Foliage Clusters’
Tools:
Craft Knife – I’m going to list this first as you always need a decent sharp knife when modelling. I use the snappy blade type knives as they are relatively cheap, and you can always have a sharp edge & most are retractable for work table safety. I’ve also forked out to get Stanley snappy blade holders made from steel as there nicer to use than the plastic disposable ones.
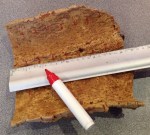
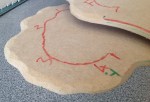
Writing Implements – I tend to use chunky felt tips as they don’t cut into the foam’s surface, and I only write on surfaces that will be covered up by sand as ink tends to bleed through paint later on. However whatever you are comfortable working with is fine just remember the old ad idge ‘Measure twice, cut once’.
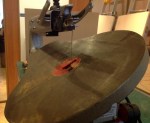
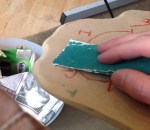
Saw – Now I’m lazy so prefer to use power tools over manual labour, so I previously used a powered jigsaw and now use the table fretsaw pictured in the previous post. However a hand saw and/or your sturdy craft knife will do the job, but a cheap power jigsaw only costs about £13 and really makes your life easier!
Paint Brushes – The only size of brush (generally) you need for terrain is a 12mm or 1/2 inch brush, I have about eight of these in various stages of new to knackered and they are perfect for both large areas and fine (well fine for terrain) dry brushing. I use B&Q’s green handled wood stain brushes as the perfect compromise between cheap (£1.50 each) and quality (they don’t shed too many bristles), as we’re going the hammer our brushes doing dry brushing it’s not worth forking out too much.
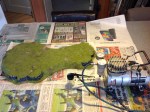
Newspaper – Necessary to catch spare sand and flock, and to save your table from glue and paint. If you catch buses in Edinburgh there are always plenty of spare Metro’s to scoop.
Sand Paper – For smoothing off filler, styrofoam and cut MDF edges. Cheap sand paper isn’t worth it as it just turns back into sand… and paper, if you get two or three sheets of good quality stuff you won’t need any more for years!
Hot Glue Gun – optional depending on whether you want to use hot glue. But if your going to do any serious amount of terrain making I would advise for getting one as it’s a great time saver, also cheaper glue sticks can be bought from gluegunsdirect.com or me if you live in Edinburgh as my 5kg box is only half empty after 5 years of regular use!
Cutting Matt – optional but a damn site cheaper than any table you will ever buy! Amazon sell them cheaper than anywhere else I’ve found, I would recommend A2 as this is slightly large than an open newspaper. I use two either onto of each other for extra padding or spread out for work area.
Apologies for the wordy start, In part 2 I will start with the step by step instructions.
Hope this helps
Nick